Sunday, May 16, 2010

Chair therapy


I have been working on some traditional dining room chairs that have been hanging around my house for quite some time. They are the typical dull brown wood with covered seats that have seen better days. I hand brushed these with flat white paint.


This is my neighbor dog "Belle" that comes over to help me with my projects from time to time and of course play with "Harley" as seen in the bottom right corner of the picture. Notice the white paint on the side of her face!

After several coats of white flat paint, the scuffing begins. That part is always a little faster and seems so funny to me to be knocking off what you have so painstakenly just finished painting! It looks exactly like I want it too. I had to take the seats of these chairs apart and totally redo the strapping. I covered the seat with canvas, followed with burlap. I took a stencil and marked each seat with a different number, one thru four using black craft paint. I love the way the numbers turned out. I hope they find a good home!

Tuesday, April 20, 2010

Blue Beachy Keen

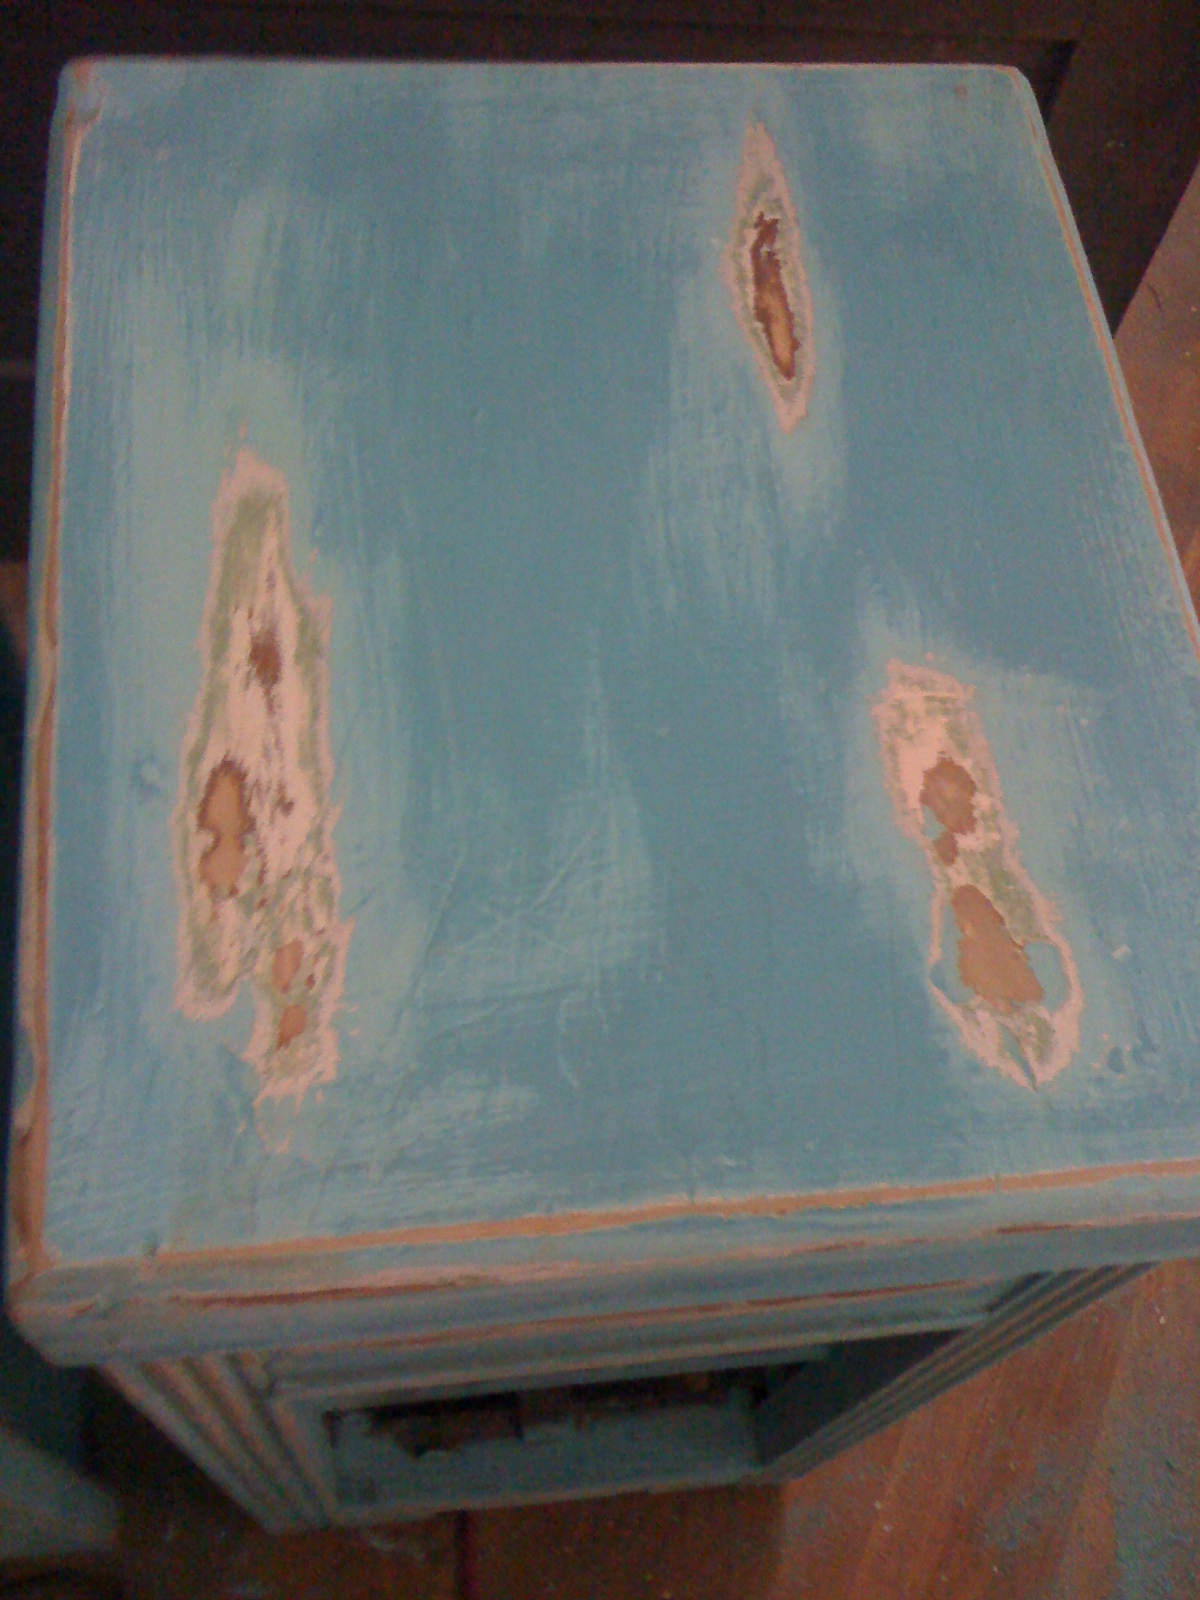
This is what I have been working on for the last week. It started out pretty grimy. Looks kind of desperate doesn't it. I had a few ideas, so I went to work tearing it apart! I cleaned it and removed some damaged areas and started to paint. Ooops paint came in handy for this project. I used a light seafoam color for the base with a more turquoise top coat with a dry brush. Sanding some shabbiness back into it after the two coats were dry. For a different look, I used craft glue to paper the front of the drawers. Turquoise glass knobs finish it off. It's hard to believe this was a piece I found on the side of the road tossed in the trash. Can we all say "Trash to Blue Beachy Keen" I like it, but it is going to live in another home!

Saturday, April 10, 2010

Saturday's Project


This is the project I worked on Saturday morning. I bought a really cute letter hook while visiting my daughter Arielle and her family on Palm weekend. I knew I wanted to use it for Harley's leash since I can never find it! When I got home I looked around for something to mount the hook on. I had 2 pieces of wood I had salvaged from a broken table that I got out of the trash. Yes, I admit it, I'm a dumpster diver! The pieces had been laying around outside for about 6 months, so they had just the shabby look I wanted. Some of you may not like that shabby chic look, but it is just right for my style. I cut the ends off and sanded it and attached the hook and a cleet on the back to hang it and there you go, Harley's Leash Hook!
This will be my first time to blog, so bear with me. I decided to do it after following my daughter Arielle's blog. I thought it might be a good way to get motivated on finishing the construction that started about 5 years ago on my 100+ year old house. Lets just say it is an ongoing adventure! I also will be posting about different ongoing projects with rehab of sad furniture that goes into my booth at Sugar Magnolia Antique Mall in Oxford, Ms.